Ever feel like you’re stuck in a rut with your vocal mixes? You watch tutorials, you follow the steps, but your rap vocals still sound thin, muddy, or just… not professional.
It’s been a while since I did a “stock plugins only” video, and Logic has added some powerful new tools. In this tutorial, we’ll build an entire, high-quality rap vocal chain from scratch, sharing new techniques that will help you level up your sound – guaranteed.
Get ready to take notes, and then watch the full tutorial right here 👇🏻
Disclosure: This video is sponsored by McDSP
The Philosophy: It’s Not Just Plugins, It’s the Process
The real magic of this tutorial isn’t just one plugin; it’s how the individual parts come together. In this tutorial, we break down the entire process, from getting the initial balance to building a re-usable chain that will save you tons of time and CPU.
Here are the key takeaways and the exact chain built in the video:
1. The Foundation: Balance & Takes
Before a single plugin is loaded, we need to focus on two critical steps:
- Essential Balance: We need to bring up the lead vocal and balance it with the instrumental. Then, we tuck in the backing vocals and “dub” layers.
- Unique Takes: To get a thick, rich vocal, do not just copy and paste your lead vocal track. The backing and dub layers should all be separate recordings. This avoids phasing issues and adds genuine depth.
- Width: Pan the dubs (words of emphasis) to about 50L and 50R to create an exciting stereo spread.
2. The Mixing Workflow Hack: Busing is Everything
This is the most important part of the workflow. Instead of putting plugins on each individual track, we need to route the lead vocal to an Aux Bus.
Why?
- It saves CPU: You only use one set of plugins.
- It’s Re-usable: As you’ll see at the end, we will mix the entire first verse in seconds by simply routing those tracks to the same bus we already built.
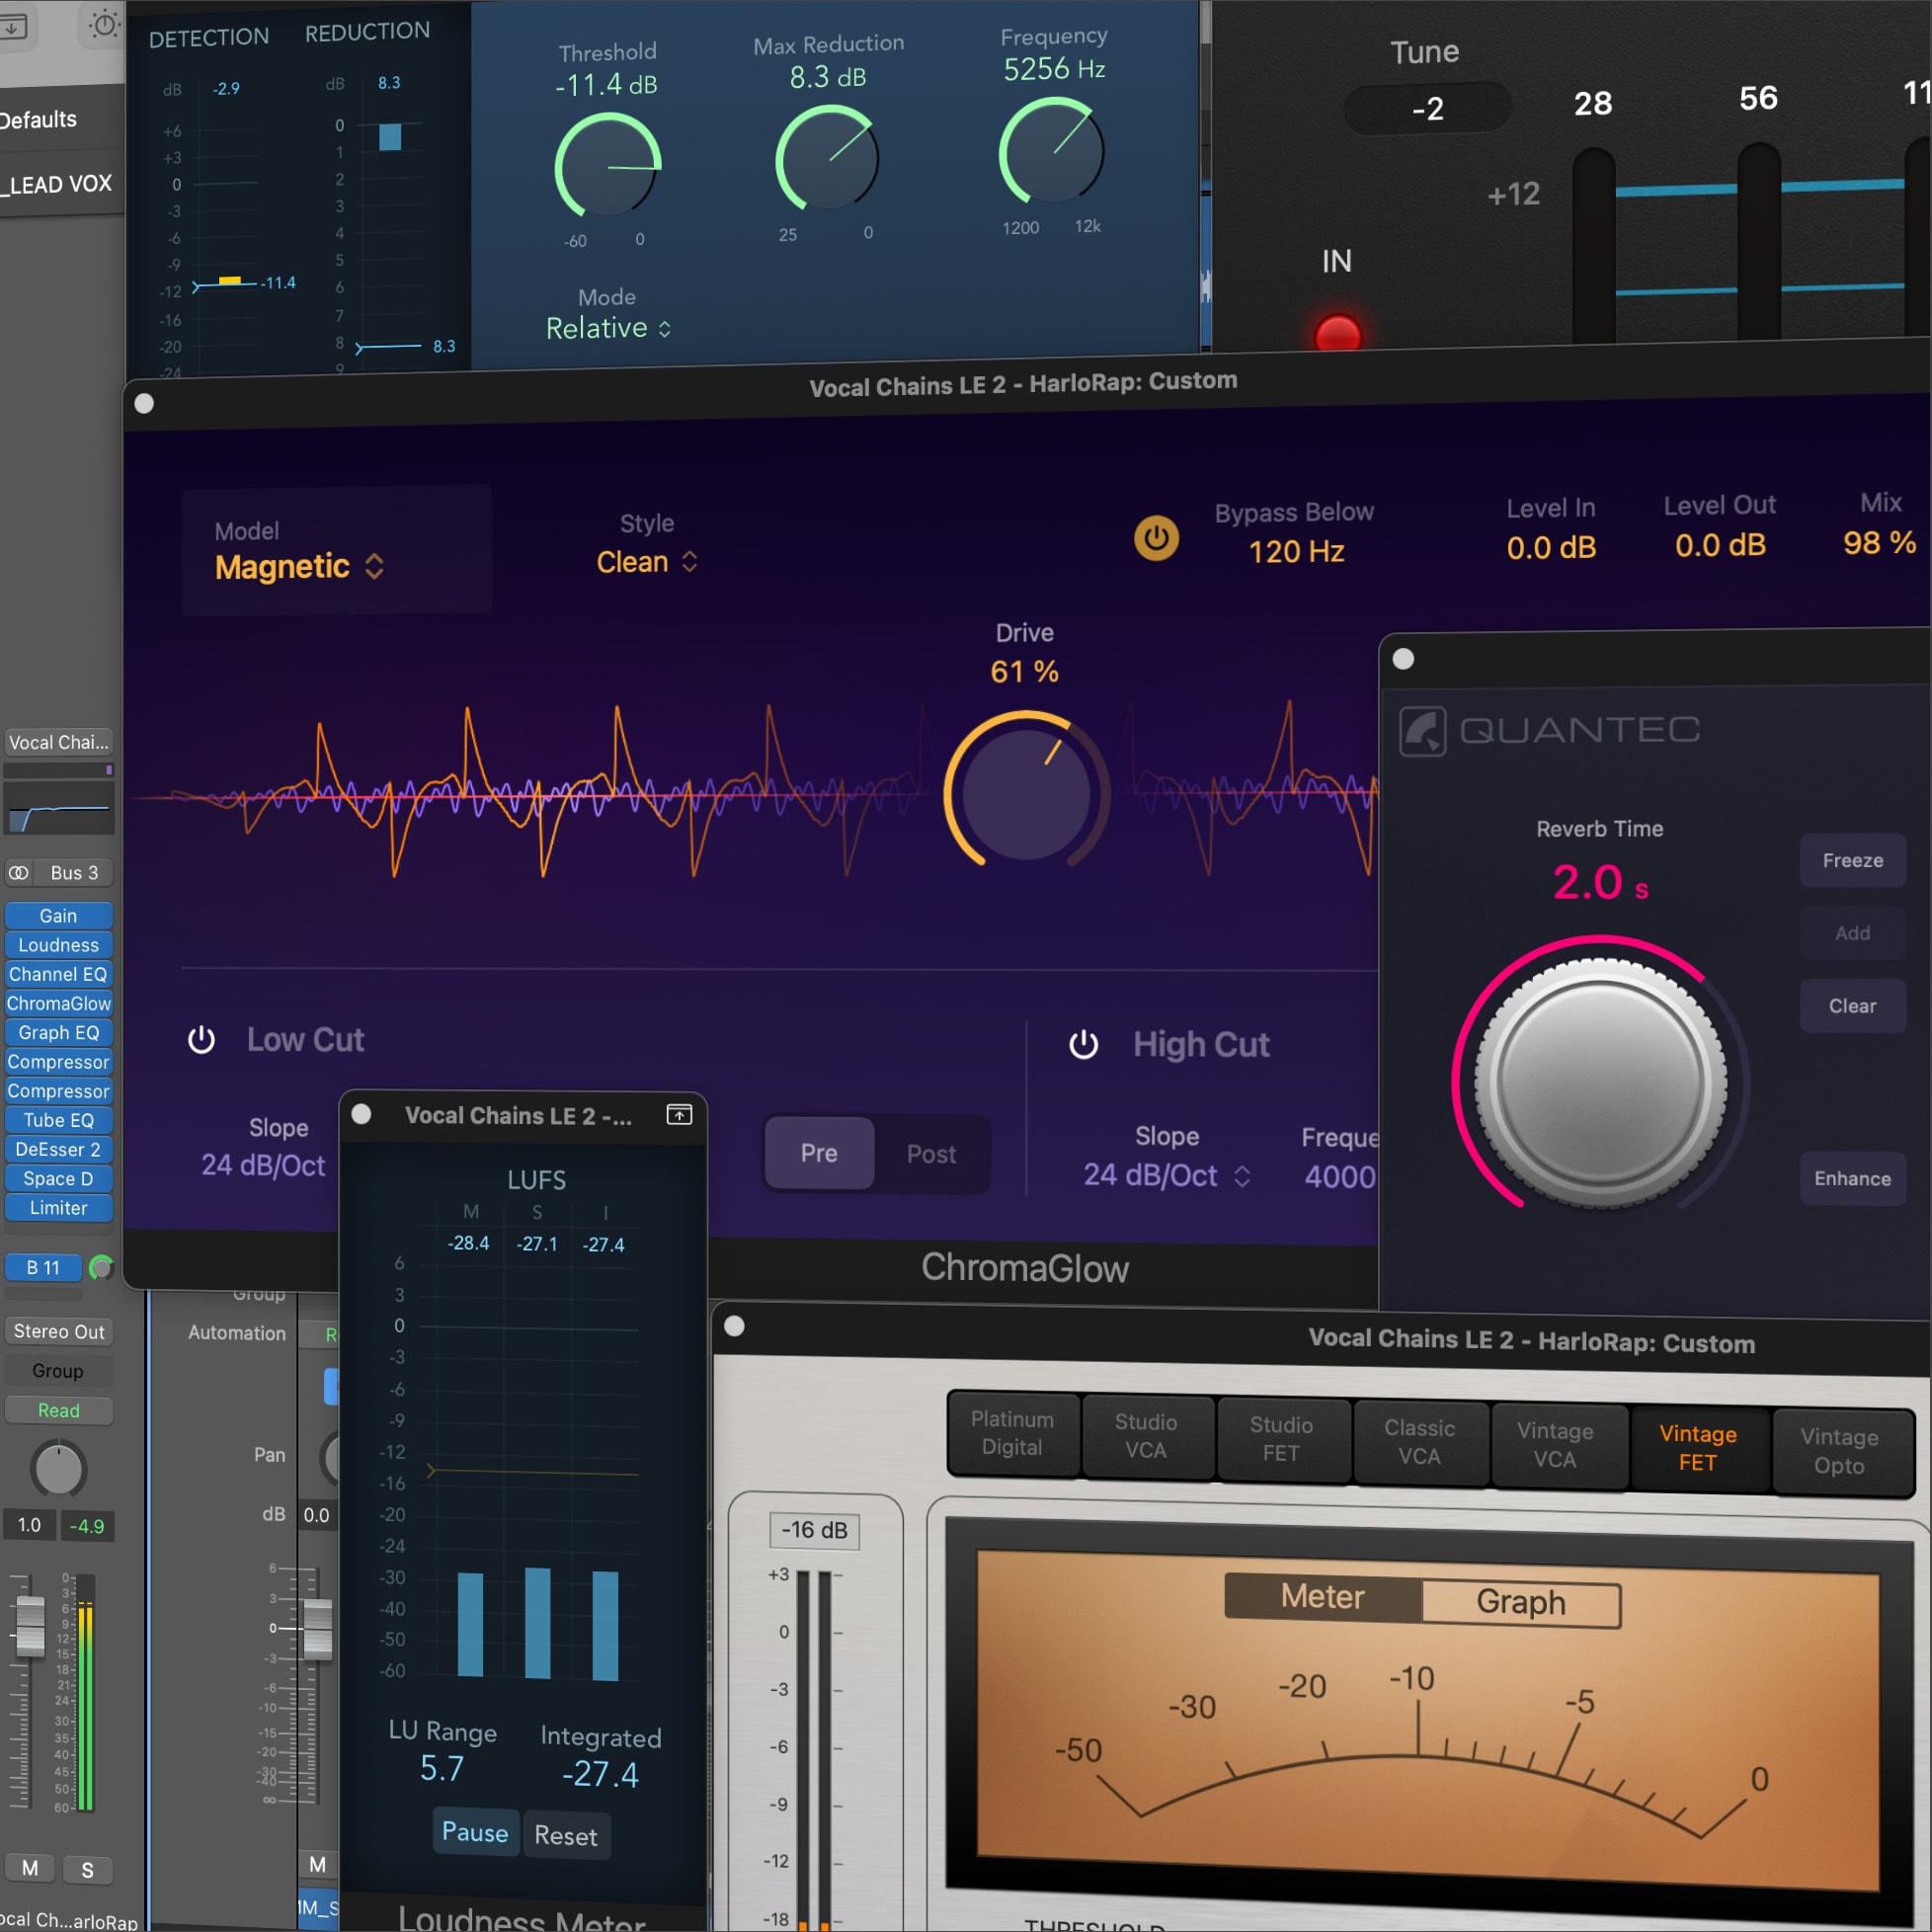
3. The Best Logic Pro Stock Vocal Chain: The Breakdown
Here is the step-by-step signal chain we build on the “Lead Vox” bus.
- 1. Linear Phase EQ (Subtractive EQ)
- Purpose: To clean the vocal before compression.
- Why Linear Phase? It’s cleaner and more transparent than the standard Channel EQ, making it perfect for mixing.
- The Moves: Rolls off low-end rumble (around 75Hz with a steep slope), cuts a bit of mud (100-200Hz and 500Hz), and even uses a gentle low-pass filter at 15kHz to tame harsh digital frequencies.
- 2. Chromaglow (Subtle Saturation)
- Purpose: To add analog warmth, body, and character.
- The Trick: A little goes a long way. Sean uses it very subtly (Drive @ 15%, Mix @ 30%) to add presence without distortion.
- 3. Serial Compression (The 1-2 Punch)
- Purpose: To control dynamics. Pro tip: Logic’s compressors don’t like to be pushed hard. The solution? Use multiple compressors, each doing a little bit of work.
- Compressor 1 (Studio VCA): A fast compressor to catch the initial peaks.
- Compressor 2 (PhatFX – Opto): A slower, smoother “opto” compressor (found inside the PhatFX plugin) to “glue” the vocal and give it a consistent level.
- 4. Parallel Compression (For Body & Warmth)
- Purpose: To add thickness and presence without squashing the vocal.
- How: He creates a new bus (“Parallel Comp”) and sends the vocal to it.
- The Chain: We use the Studio FET compressor, turning on Soft Distortion, and crush the signal. We then blend this heavily compressed signal back in under the main vocal.
- 5. Vintage EQ (Additive EQ)
- Purpose: To add character and shine after the vocal is compressed.
- The Chain: We use the Console EQ (Neve-style) to boost “analog air” (around 20k) and presence (at 10k).
- Key Note: The amount you boost here is mic-dependent. The mic used (WA-87) was already bright, so it needed little. A darker mic (like an SM7B) would need a bigger boost.
- 6. DeEsser2 (The Polish)
- Purpose: To control the “S” and “T” sounds (sibilance) that got brighter from the EQ boost.
- The Chain: We use Logic’s new DeEsser2 (which is a huge improvement) on “Absolute” mode and a “Wide” range to tame the harshness.
- 7. Reverb (The “Ducking” Technique)
- Purpose: To create space without washing out the vocal.
- How: Send the vocal to another bus with the new QRS Reverb.
- The Pro Trick: Place a Compressor after the reverb. We then set the compressor’s Sidechain to listen to the dry lead vocal (Bus 1).
- The Result: The reverb gets “ducked” (turned down) whenever the artist is rapping and swells up in the empty spaces. This is the secret to a clean, professional sound.
- 8. Delay Throws (Creative Effects)
- Purpose: To add energy and fill gaps.
- How: On another bus, we add a Tape Delay and a Space Designer reverb.
- The Trick: Use Automation (Latch Mode) to “perform” the delay, “throwing” the send only on the last word of a phrase to make it echo out.
Your Turn to Mix
The biggest takeaway from this video? Stop blaming your tools. Logic Pro’s stock plugins are more than capable of producing a professional, release-ready song.
This workflow – from busing and serial compression to sidechained reverb, is a blueprint for success.
And if you want to see me tackle the hook and chorus next, be sure to leave a comment on the video letting me know you want a Part 2!
30 All-New Vocal Chains – Now Available 🎙️
Disclosure: This website contains affiliate links to brand partners, recommended products and services. A small commission may be generated on sales through these links, at no additional cost to you. I appreciate your support as this helps me continue to create content.